
Connecting your MacBook to an external display opens up a world of multitasking opportunities. However, there’s a key display setting that could significantly streamline your user experience. Even though I had been using a MacBook with an external monitor for years, I only recently discovered the magic of designating primary displays.
Mac laptops are designed to be adaptable, able to interface with external displays in several ways.
If you often utilize your MacBook in a desktop format, you’ll probably find the macOS’s clamshell mode particularly useful. Even when closed, your MacBook will continue to function if it’s connected to an external display, along with a keyboard and mouse or trackpad.
When you lift the MacBook’s lid while it’s still connected to peripherals, the built-in Mac display takes over, and the external monitor transitions to function as a secondary display.
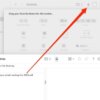
In this setup, you can effortlessly shift windows from one monitor to the other. Additionally, the System Settings allow you to virtually organize your displays to mirror their physical arrangement. Understanding which edge of one display aligns with the other is crucial for a seamless user experience.
The Internet Patrol is completely free, and reader-supported. Your tips via CashApp, Venmo, or Paypal are appreciated! Receipts will come from ISIPP.
CashApp us

Venmo us

Paypal us

For years, I used this method without realizing that I could optimize my display setup even further: by designating a primary display.
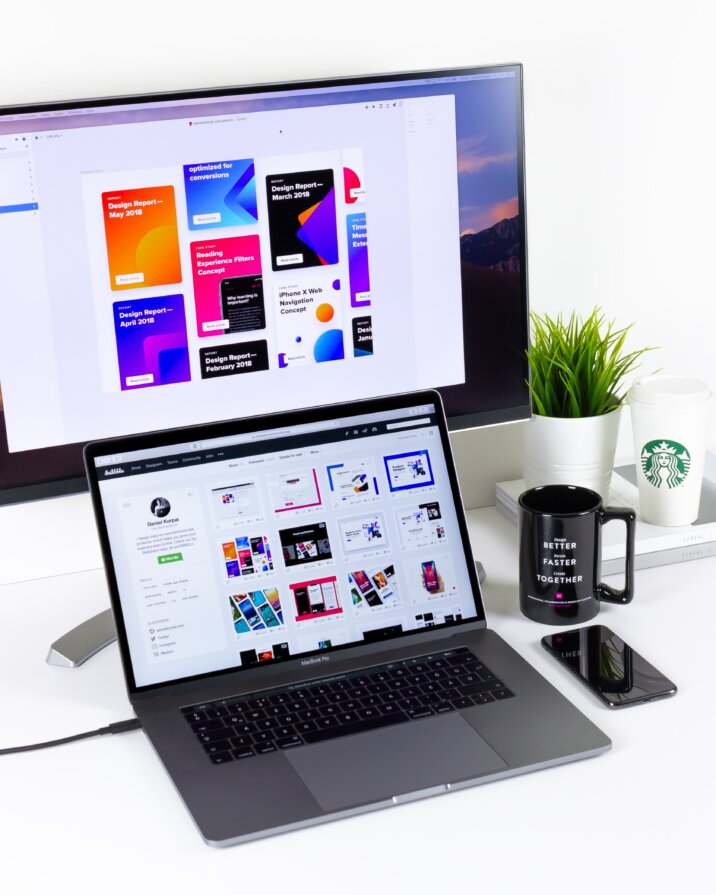
The primary reason for connecting an external monitor is often to expand your working space, making everything appear less crowded and easier on the eyes. However, having to manually drag each active window from the laptop to the external display can quickly become a tedious task.
Luckily, there’s a shortcut to ensure this laborious drag will be your last. It’s a simple trick that isn’t immediately obvious to those who aren’t meticulous readers of user manuals.
The “menu bar” on your built-in display is draggable, and this isn’t just to decide which monitor is currently active. By dragging it to the external monitor, you designate that monitor as the destination for all content when you connect your laptop.
Thanks to Apple’s silicon chip, transitioning to an external display is now instantaneous, making this feature even more enjoyable. With this newfound knowledge, using your MacBook as a part-time desktop has become an absolute pleasure. No longer do you need to spend time manually managing windows across multiple monitors; your MacBook will do the heavy lifting for you.
The Internet Patrol is completely free, and reader-supported. Your tips via CashApp, Venmo, or Paypal are appreciated! Receipts will come from ISIPP.
CashApp us
Venmo us
Paypal us