This is the continuation of a previous post. You can find it here.
This is the How to Make Your iPhone Work For You series, stepping right up to the gates of iPhone security. We’re covering where to begin securing your iPhone to make it work to the best of its abilities in your favor.
There are a few different ways to customize your privacy settings on your iPhone. You can adjust your privacy settings in the Settings app, in the Safari app, and in the apps that you use. Let’s start off with a briefing on each of these methods.
The Settings app: The Settings app is where you can adjust the privacy settings for your entire iPhone. This is where you can turn on features like “Do Not Track” and “Limit Ad Tracking.” You can also adjust your privacy settings for specific apps, like the Camera app, in the Settings app.
The Safari app: The Safari app is where you can adjust your privacy settings for your web browsing. You can turn on features like “Do Not Track” and “Block Pop-ups.” You can also adjust your privacy settings for specific websites, like Facebook and Google.
The apps you use: Most apps have their own privacy settings that you can adjust. For example, you can turn off location tracking in the Maps app, and you can turn off contact syncing in the Contacts app. You can also often adjust the privacy settings for specific app features, like the use of your location for your camera roll can be adjusted in the settings for the Photos app.
The Internet Patrol is completely free, and reader-supported. Your tips via CashApp, Venmo, or Paypal are appreciated! Receipts will come from ISIPP.
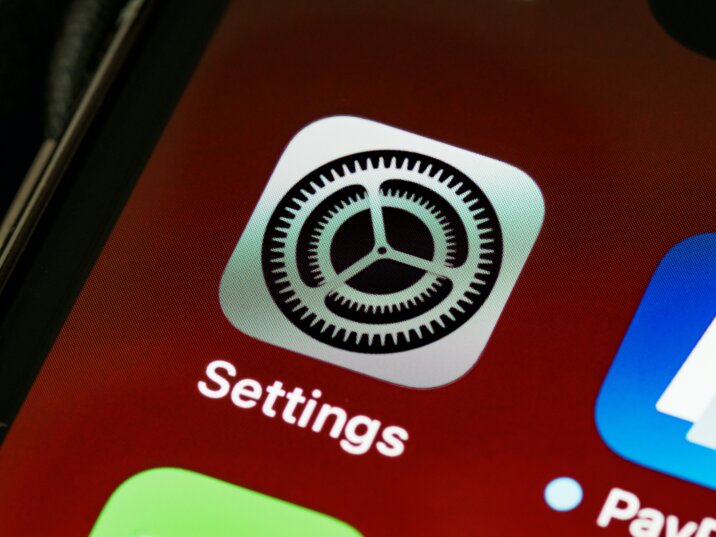
If you’re feeling overwhelmed with places to start, take a breath. There is a lighthouse, signaling you to a safer device. Regardless of where you choose to start customizing your privacy settings, you’ll always begin the same way. That beacon is the Gear – the universal symbol for “Settings” so anytime you see the outline, animation, or image of a gear on any screen display you’ll know that that is an icon that you can click to bring you to your settings.
Now that we’ve gone over why privacy is important and how to customize your privacy settings, let’s take a look at the 5 best privacy settings for your iPhone:
1. Turn Off Location Services: This setting prevents apps from tracking your location. When you turn off location services for an app, that app will not be able to track your location. You can adjust this to include your entire device, or individual apps. For example, you may wish to continue allowing Maps to use your location but not the Gmail app.
2. Do Not Track: Make sure you’re hitting “Ask Apps Not to Track” every time. You should see it the very first time you use a newly downloaded app. When you turn on this setting, your iPhone will send a “Do Not Track” request to websites that you visit. This request will tell the website not to track your browsing history.
3. Use Private Browsing: This is a Safari specific setting that prevents websites from tracking your browsing history. When you turn on this setting, your iPhone will not save your browsing history which in turn means that websites won’t be able to see all the websites you have visited.
The iPhone is a powerful tool that many of us rely on every day. However, it’s also a device that can collect a lot of very personal information about us – including our location, our friends and family members, our internet browsing history, and more.
If you’re concerned about your privacy, (which if you caught our introduction, you ought to be!) it’s important to know about the various settings that you can use to protect your data.
We hope this article has helped you understand the various starting points for these settings. All you really need to remember is the gear. With that insight, you can always adjust your privacy settings in the Settings app, in the Safari app, and almost any other app. Just start by finding the gear symbol.
The Internet Patrol is completely free, and reader-supported. Your tips via CashApp, Venmo, or Paypal are appreciated! Receipts will come from ISIPP.


